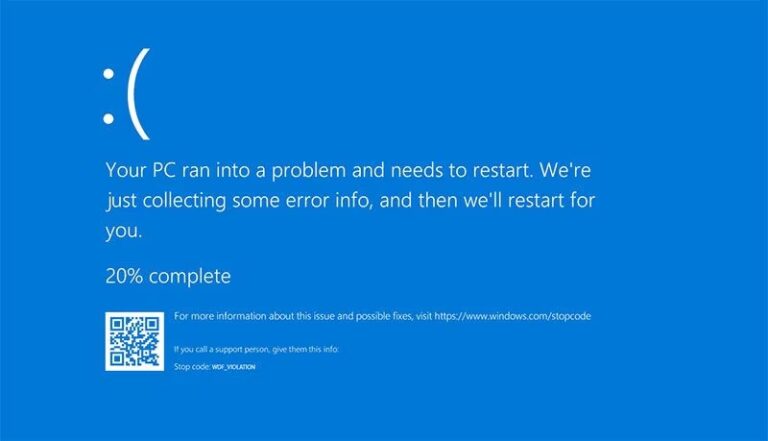
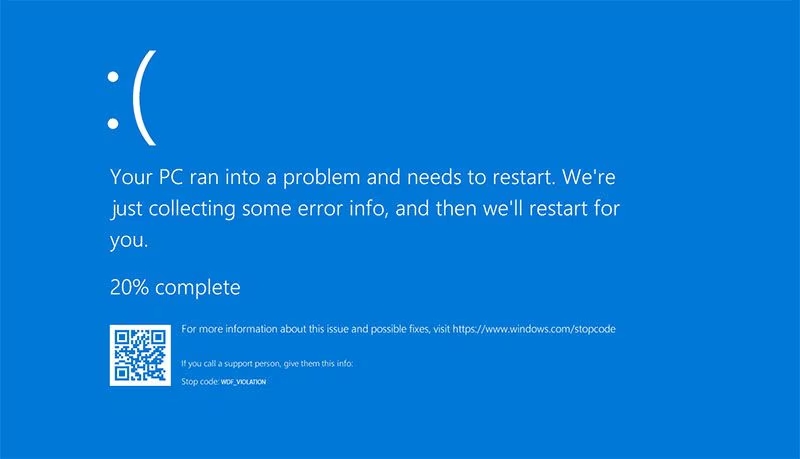
The WDF VIOLATION Blue Screen of Death (BSoD) typically points to issues with device drivers. While it may look alarming, this error is relatively uncommon and usually not difficult to fix.
Below, you’ll find a breakdown of what can cause the WDF_VIOLATION error in Windows 10 and Windows 11, along with troubleshooting steps to help you identify the root cause and resolve the issue effectively.
What Causes the WDF_VIOLATION Blue Screen Error?
The WDF_VIOLATION error is triggered by issues within the Windows Driver Framework (WDF). This framework manages how hardware drivers interact with Windows, so when something goes wrong, it can result in a system crash. Common causes include:
-
Outdated or corrupted device drivers
A faulty driver (often for USB devices, touchpads, or third-party peripherals) is the most common reason for this error. -
Recently installed hardware or software
Installing new hardware or software may introduce compatibility issues or driver conflicts. -
Malware or virus infections
Malicious software can corrupt system files, including drivers, leading to instability. -
Corrupted system files
Essential Windows files may become damaged due to improper shutdowns or disk errors. -
Incompatible Windows updates
Sometimes, a recent Windows update may not be compatible with your current drivers or hardware configuration. -
Third-party antivirus or security software
Some aggressive security tools may interfere with system processes or drivers.
Ways to fix the error
Step 1: Access Windows Recovery Environment
If Windows won’t boot normally:
1.Force shutdown and restart your PC 2–3 times in a row (hold the power button to turn it off during the boot process).
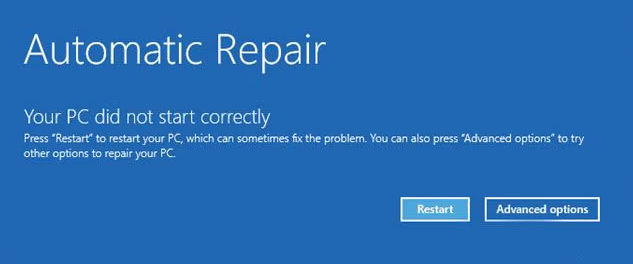
2.This should trigger Automatic Repair mode. On the screen that says “Your PC did not start correctly”, click Advanced Options.

3.Navigate to:Troubleshoot → Advanced options → Startup Settings → Restart.
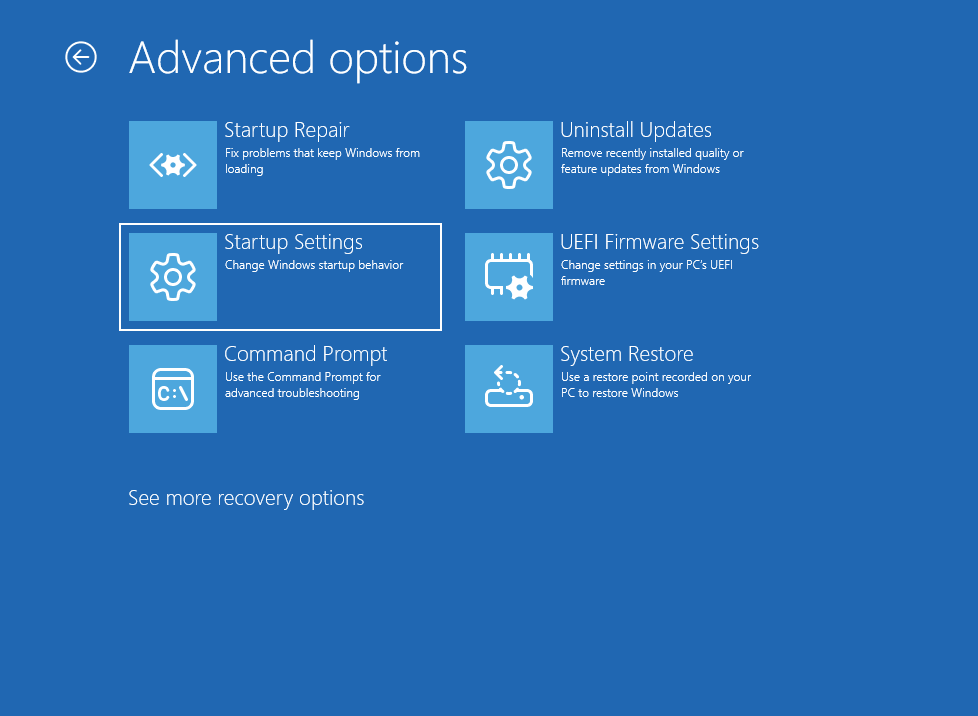
4.After your PC restarts, press F5 (or 5) to boot into Safe Mode with Networking, or F7 (or 7) for Safe Mode without networking (in case of network driver issues).
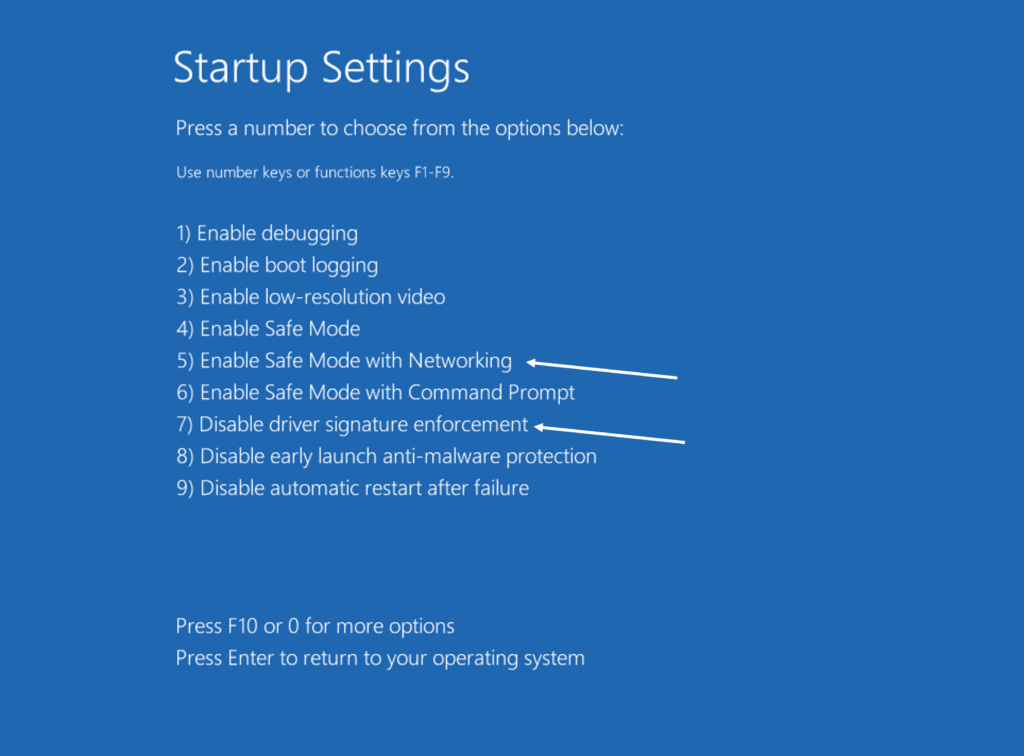
In Safe Mode, the BSOD will most likely not appear.
💡 Tip: If the error only happens after a full shutdown (not a restart), try disabling Fast Startup in Windows.
🔧 Step 2: Troubleshoot and Fix the Issue
Once in Safe Mode or normal mode:
1. Identify the Problem Driver
-
Look at the error screen: if it mentions a file like
example.sys, search online to find out which device it belongs to. -
Unplug the device (often USB-related) or uninstall its driver.
-
Download and install the latest driver directly from the official manufacturer’s website (not via third-party sources or Windows Update).
2. Rename the Faulty Driver (Advanced)
-
Open File Explorer and navigate to:
C:\Windows\System32\drivers -
Find the
.sysfile causing the issue. -
Rename it (e.g.,
example.sys.bak) instead of deleting it — this way, you can restore it later if needed.
⚠️ Caution: Only do this for non-critical drivers (e.g., third-party USB devices). Renaming system-critical drivers may cause your PC to fail to boot.
3. Uninstall Recent Windows Updates
-
If the BSOD started after a recent update, go to:
Settings → Windows Update → Update History → Uninstall Updates -
Alternatively, use System Restore (from Advanced Options in Recovery Environment).
4. Reinstall Drivers from Manufacturer’s Website
If you recently reinstalled Windows or added new hardware:
-
Visit the official website of your motherboard (for desktops) or laptop brand.
-
Download and install original drivers—especially for the chipset, USB controllers, and power management.
5. Repair System Files via Command Prompt
Open Command Prompt as Administrator and run the following commands one by one:
These commands will scan and repair damaged system files.
6. Enable Windows Updates
If you’ve disabled Windows Updates or haven’t installed any in a long time:
-
Go to
Settings → Windows Updateand check for updates. -
In some cases, updating Windows can fix outdated drivers and resolve the WDF_VIOLATION error.
Analyzing Memory Dumps for WDF_VIOLATION Errors in Windows 11/10
If you’re encountering a blue screen error (BSoD) with the code WDF_VIOLATION, and you don’t know which driver caused the issue, analyzing the memory dump can help identify the root cause. Here’s how to do it using WinDbg, the official Microsoft tool for debugging Windows:
Step-by-Step Guide to Analyze Memory Dumps
-
Install WinDbg
-
The easiest way is via the Microsoft Store or by using Windows Package Manager (WinGet):
-
-
Open the Dump File
-
Launch WinDbg.
-
Go to File > Open dump file, then click Browse and navigate to:
-
Select the most recent
.dmpfile associated with the WDF_VIOLATION error.
⚠️ Note: If you don’t see any files, memory dump creation might be disabled on your system.
-
-
Run the Analysis
-
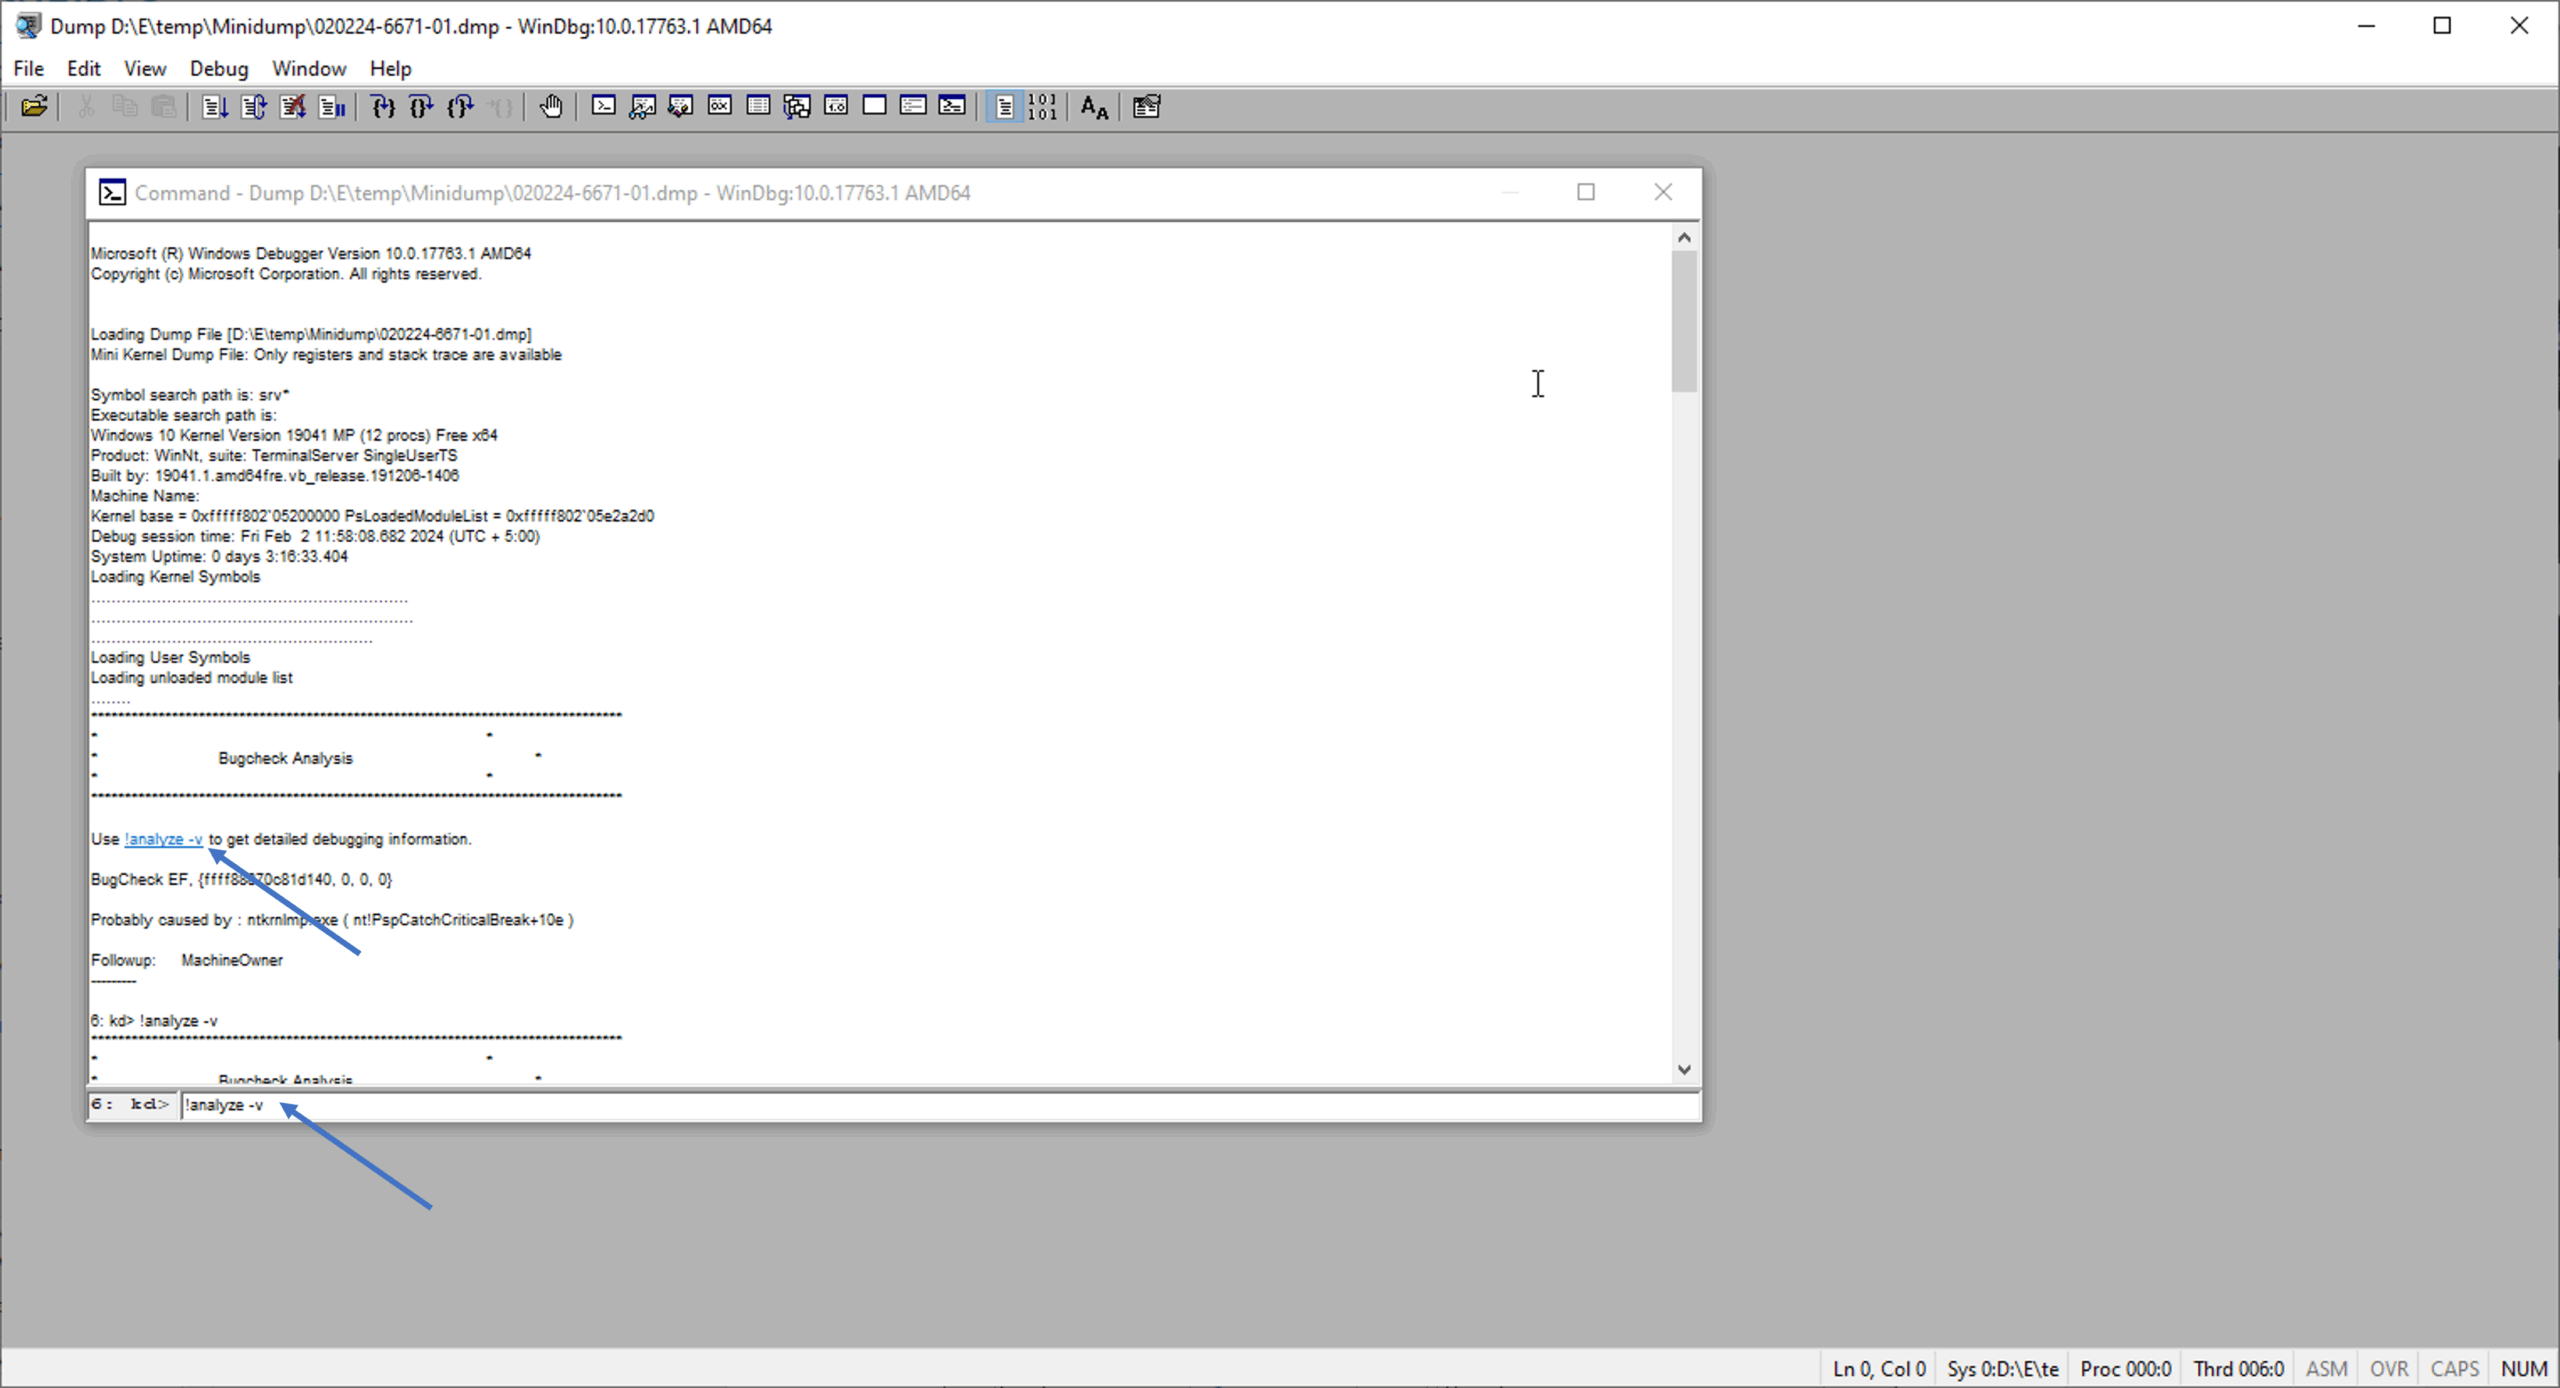
In the command input area at the bottom, type:
Or simply click the hyperlink that says
!analyze -vin the main window.
-
-
-
Wait for the analysis to complete.
-
4.Interpret the Results
-
-
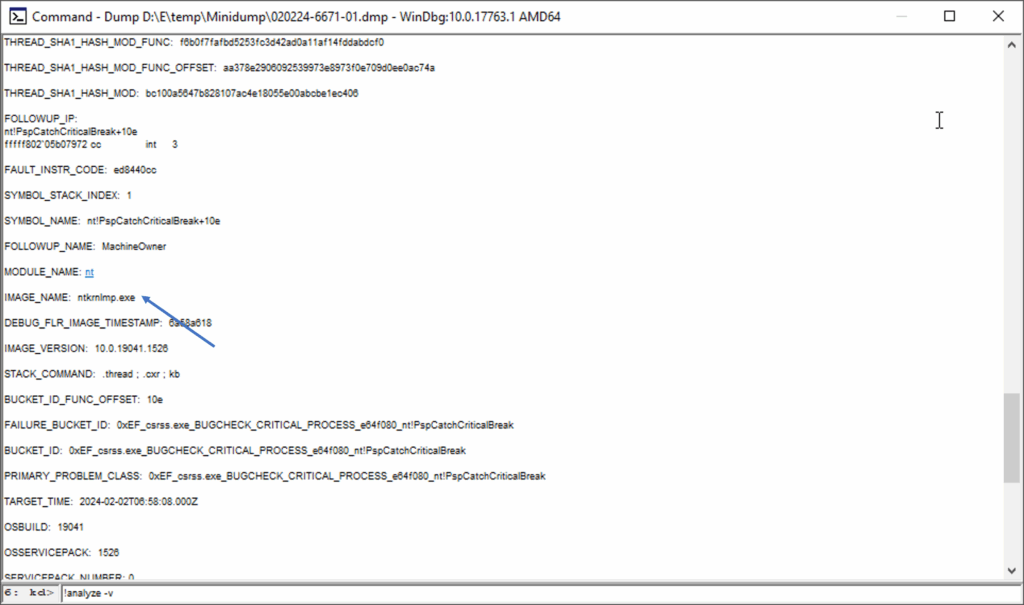
Look for the following fields in the output:
-
SYMBOL_NAME -
MODULE_NAME -
IMAGE_NAME
-
-
These fields will show the name of the driver or module responsible for the crash.
-
Example:
usbXhc.sysmight point to a USB controller driver.
-
5.Find and Fix the Problem Driver
-
-
Search online using the driver name to determine which device or software it belongs to.
-
Try downloading the latest version of the driver from the manufacturer’s website.
-
Alternatively, you can uninstall the problematic device or software.
-
6.Third-Party Software Drivers
-
-
Sometimes, the issue is caused by a driver installed by third-party software rather than hardware.
-
In this case, try uninstalling the software to resolve the conflict.
-
Explore other helpful tools in our Windows utilities section.