Fixing the “Preparing Automatic Repair” Loop in Windows 11
For many Windows 11 users, one of the most frustrating issues is when the computer gets stuck on the “Preparing Automatic Repair” screen, followed by a “Diagnosing your PC” message. Often, this process ends with a notice that “Your PC did not start correctly”—but without actually fixing anything.
In some cases, the cycle repeats endlessly, making the system unusable. In other cases, Windows may boot successfully after a restart, but the problem returns later.
Below, we’ll cover the most common causes of this issue and step-by-step methods to fix it.
Case 1: The Error Appears Once, Then Disappears
If the Automatic Repair screen appears only after a full shutdown and disappears after a restart, the cause is usually related to Fast Startup or missing chipset/power management drivers.
Fixes:
-
Disable Fast Startup in Windows 11
-
Go to Control Panel → Power Options → Choose what the power buttons do.
-
Click Change settings that are currently unavailable.
-
Uncheck Turn on fast startup and save changes.
-
-
Install Original Chipset & Power Management Drivers
-
Visit your PC or motherboard manufacturer’s support page.
-
Download and install chipset drivers and, if available, Intel ME (Management Engine Interface) drivers.
-
-
Keep the PC Plugged In
-
If using Fast Startup, avoid unplugging the PC from power when it’s off.
-
-
BIOS Settings Adjustments
-
Set Windows Boot Manager as the first boot device.
-
Disable Fast Boot in BIOS/UEFI (if available).
-
Case 2: Endless Automatic Repair Loop
If your PC never gets past the repair screen and keeps restarting, follow these steps:
Step 1: Access Advanced Options
-
On the Automatic Repair screen, click Advanced options.
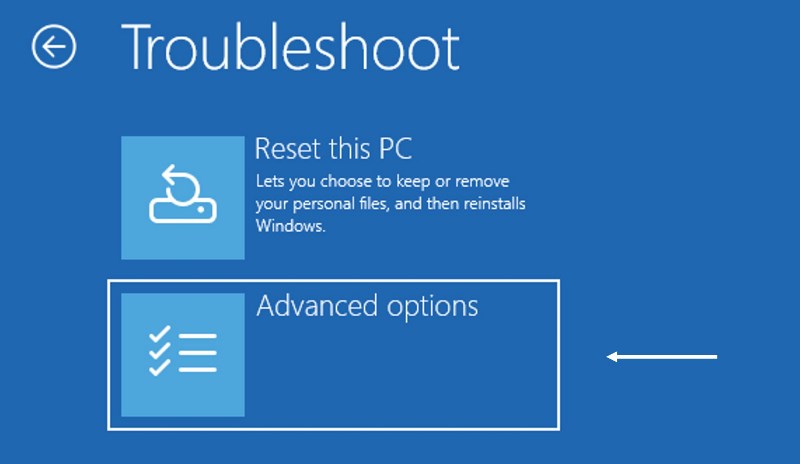
-
Navigate to Troubleshoot → Advanced options.
Step 2: Try These Fixes
-
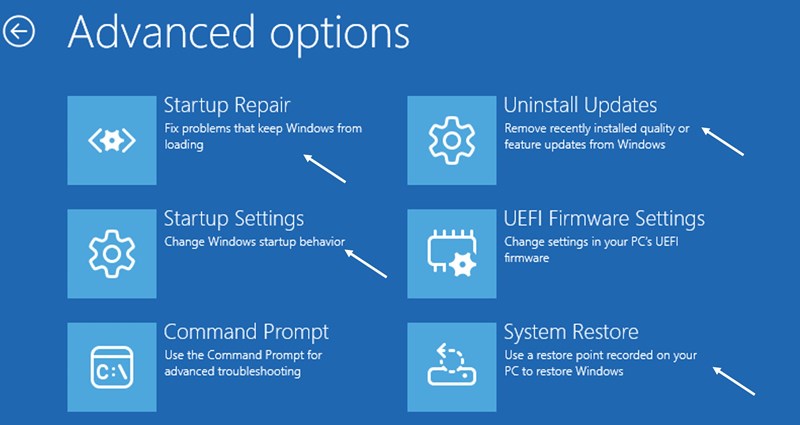
Remove Problematic Updates
If the problem started after a Windows update, choose Uninstall Updates. -
Use System Restore
If the issue appeared after installing drivers, software, or making system changes, use System Restore to roll back to a restore point. -
Startup Repair
Sometimes the built-in Startup Repair tool can fix boot issues automatically. -
Boot into Safe Mode
Go to Startup Settings → Restart → Press F7 (Disable driver signature enforcement).
From Safe Mode, uninstall recent drivers or software.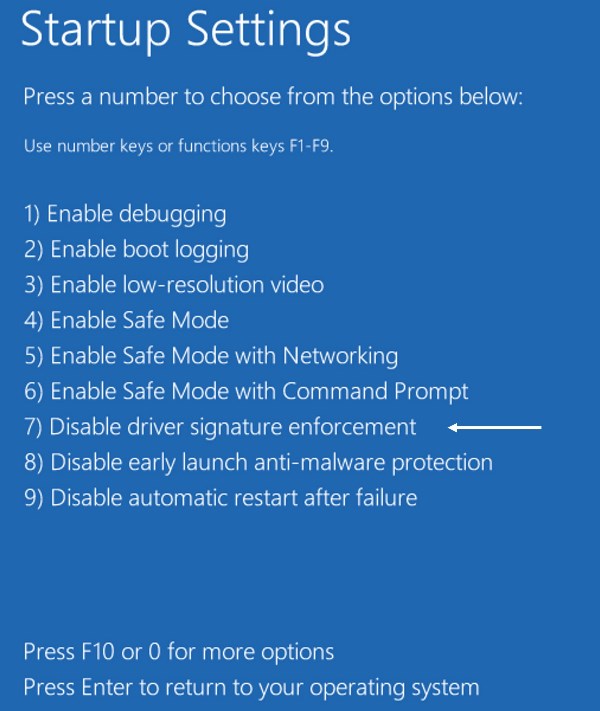
-
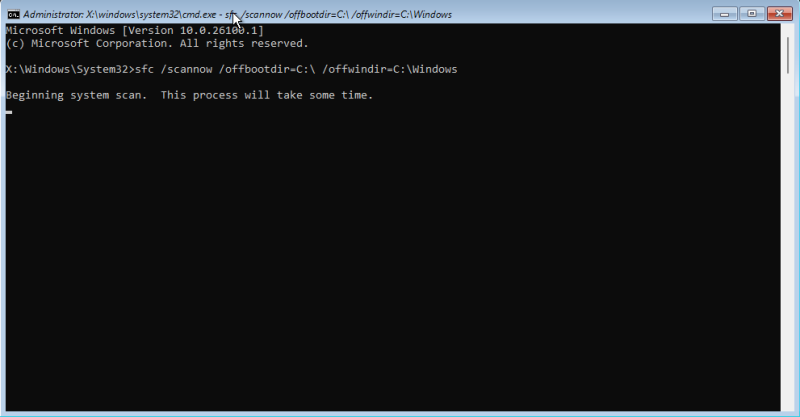
Check System File Integrity
Open Command Prompt from Advanced Options and run:(Drive letters may differ in recovery mode.)
-
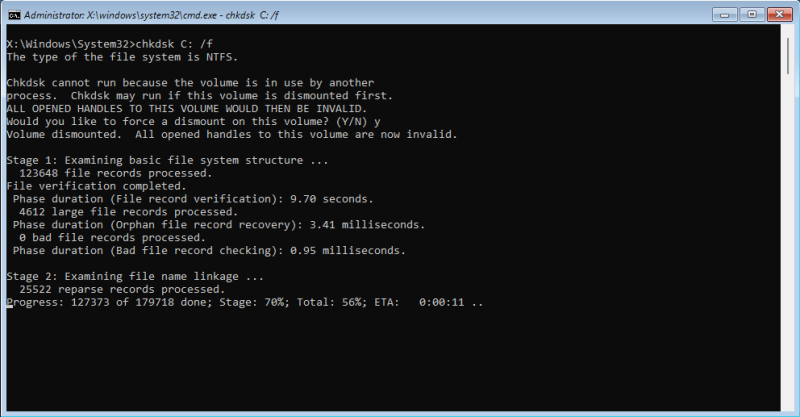
Check Disk for Errors
In Command Prompt, run:
-
Repair Bootloader
If the bootloader is corrupted, use boot repair commands such as:
Quick Summary Solution
If you see “Preparing Automatic Repair” in Windows 11:
-
First, disable Fast Startup and check your chipset drivers.
-
If stuck in a loop, use Advanced Options → System Restore or Startup Repair.
-
Run SFC and CHKDSK to fix corrupted files.
-
As a last resort, repair the bootloader.
Explore other helpful tools in our Windows utilities section.