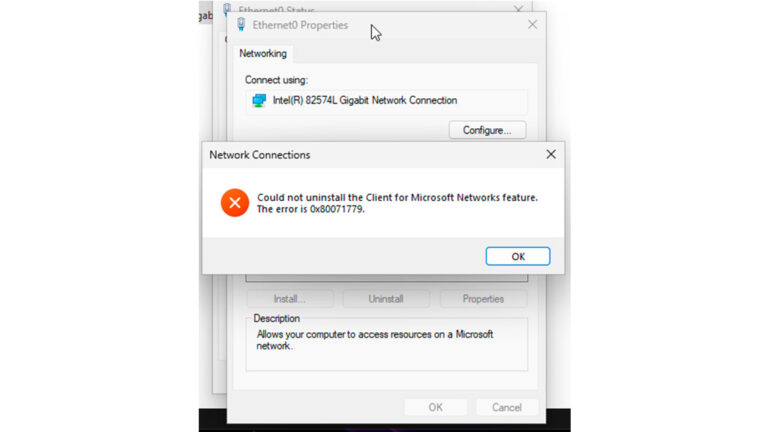
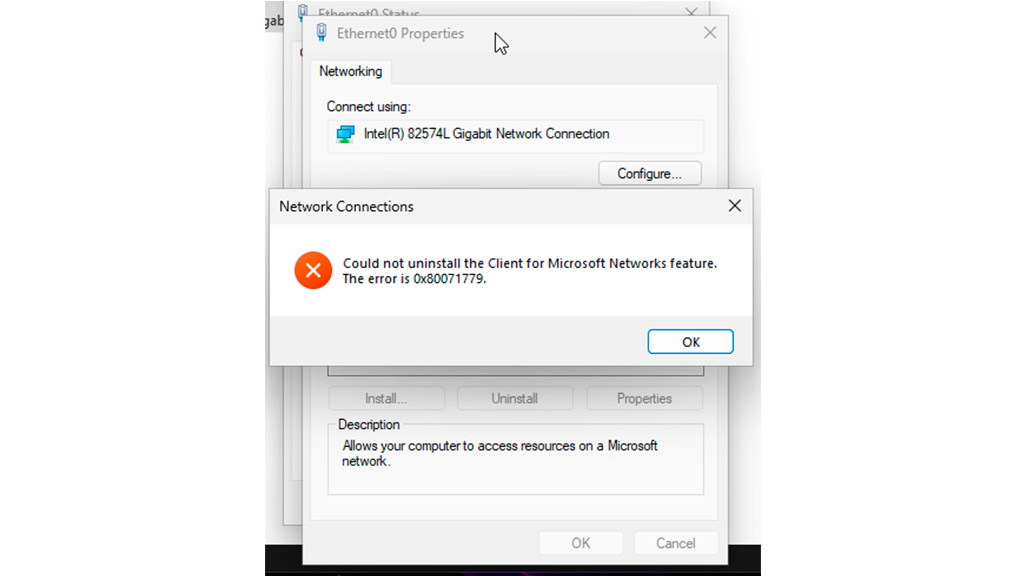
If you try to remove any network connection component in the Properties window of a network adapter in modern versions of Windows 11 or Windows 10, you may encounter the error:
“Failed to remove component: Component name. Error: 0x80071779”
You might also notice that using the netcfg command doesn’t help either.
This is not a bug — it’s an intentional restriction implemented by Microsoft.
Why This Happens
Starting with Windows 10 version 1803 and continuing in Windows 11, Microsoft has blocked the removal of certain built-in networking components via both the graphical interface and netcfg.
Official Microsoft documentation confirms that this is by design.
Solutions for Built-In Network Components
If you want to disable components like Client for Microsoft Networks or other pre-installed networking features, Microsoft recommends:
-
Disable the component in the Network Adapter Properties
Uncheck the box next to the component, click OK or Apply. The component will remain installed but won’t be used.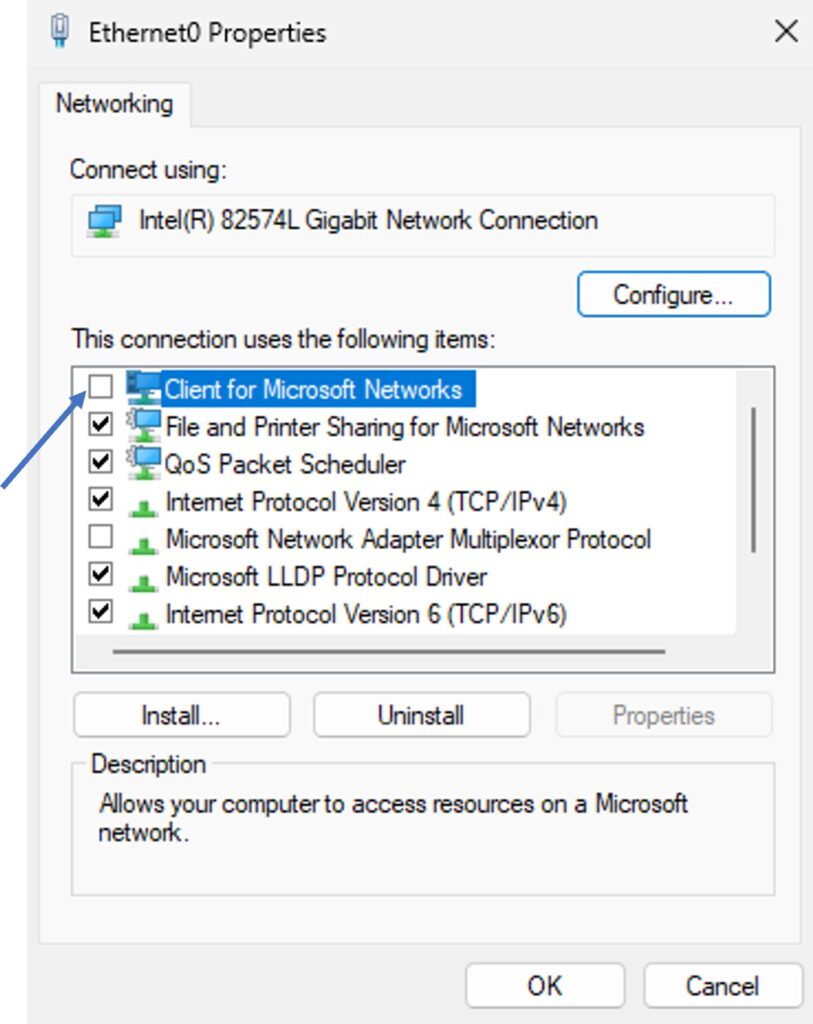
-
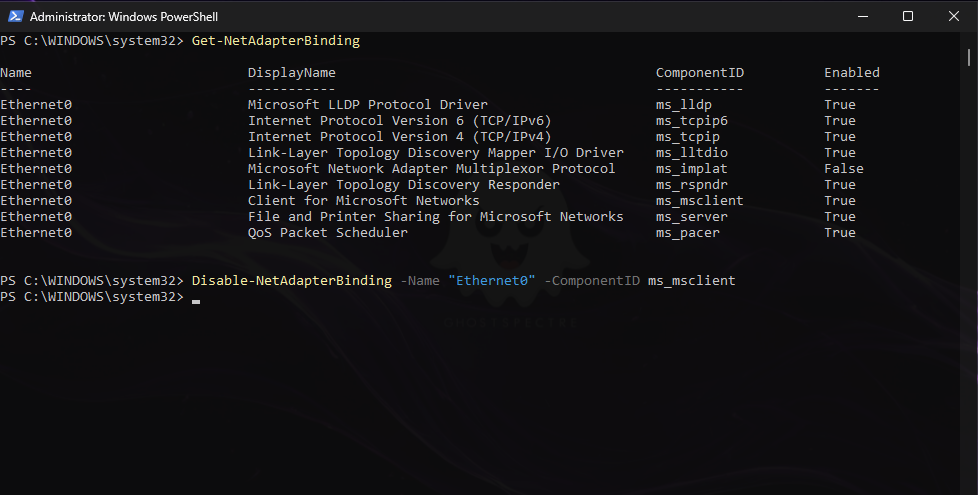
Unbind the component via PowerShell
-
Run PowerShell as Administrator (right-click the Start button → Windows PowerShell (Admin)).
- Enter:
-
This will unbind the component from the network connection without removing it.
-
To enable it again later:
-
If the Component Is from Third-Party Software
If the error occurs when trying to remove network components added by virtual machines, VPNs, or other third-party software:
-
Uninstall the corresponding software — it will typically remove its network components automatically.
-
Remove related virtual network adapters in Device Manager.
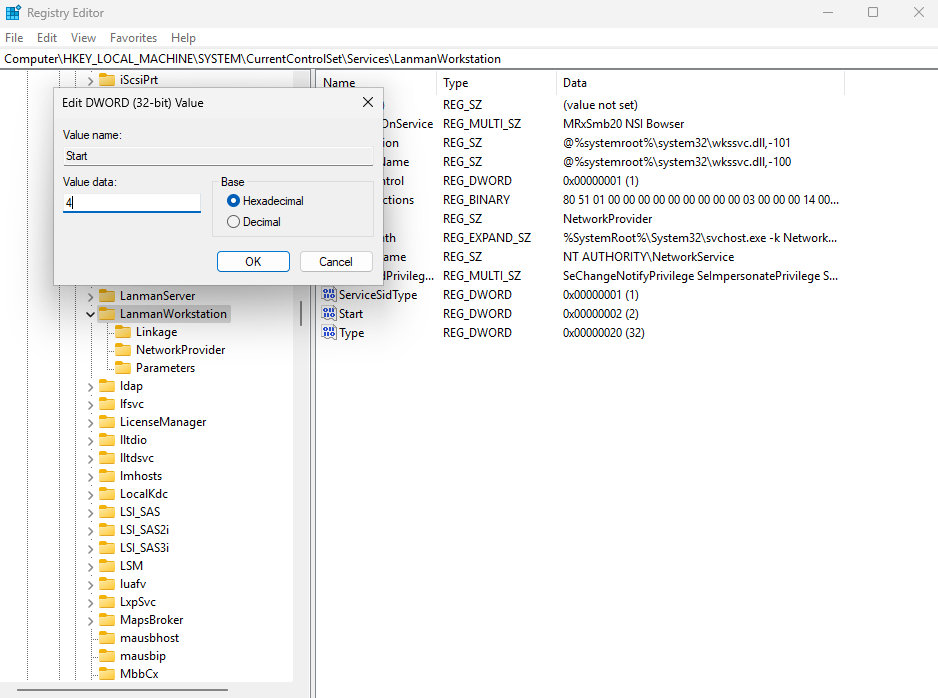
Disabling “Client for Microsoft Networks” Completely
If you’re certain you don’t need the Client for Microsoft Networks feature, you can disable its service entirely (create a restore point first):
-
Press Win + R, type
regedit, and press Enter. -
Go to:
-
Double-click Start and change its value to
4.
-
Restart your PC.
After that, the service responsible for the Client for Microsoft Networks will be disabled.
Explore other helpful tools in our Windows utilities section.