The Cache Manager BSOD is one of the more frustrating blue screen errors that Windows users face. It appears suddenly, often during startup or while performing basic tasks, and forces the PC to reboot.
This error typically indicates a corruption in the system cache, driver issues, or problems with memory.
In this guide, we explain what the Cache Manager blue screen means, why it appears, and how you can fix it step-by-step on both Windows 10 and Windows 11.
What Is the Cache Manager BSOD?
The Cache Manager is a core Windows component responsible for managing system caching — temporary data that helps your PC run faster. When the cache becomes damaged or unreadable, Windows triggers a STOP code: CACHE_MANAGER and displays the blue screen to prevent further corruption.
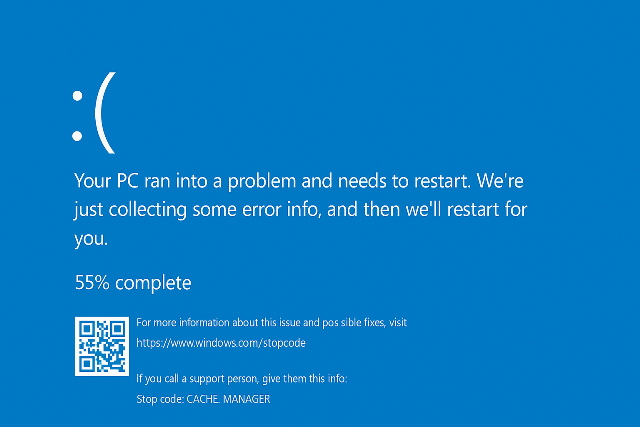
The BSOD usually appears with:
“Your PC ran into a problem… Stop code: CACHE_MANAGER”
This error may appear during:
-
Startup or reboot
-
Installing updates
-
Opening apps
-
Gaming
-
Heavy memory tasks
What Causes the Cache Manager BSOD?
Several issues can trigger this error, but the most common are:
-
🧠 Corrupted system cache or system files
-
📁 Damaged disk sectors or failing SSD/HDD
-
🔧 Outdated or incompatible drivers
-
💾 RAM errors or unstable memory modules
-
🦠 Malware modifying system components
-
⚡ Interrupted Windows updates
Understanding the cause helps you choose the right fix — so let’s get into the solutions.
How to Fix Cache Manager BSOD on Windows 10/11
Follow these solutions in order. One of them should solve the problem completely.
1.Run System File Checker and DISM
Corrupted Windows files are the #1 reason for the Cache Manager BSOD.
-
Open Command Prompt (Admin).
-
Run System File Checker:
sfc /scannow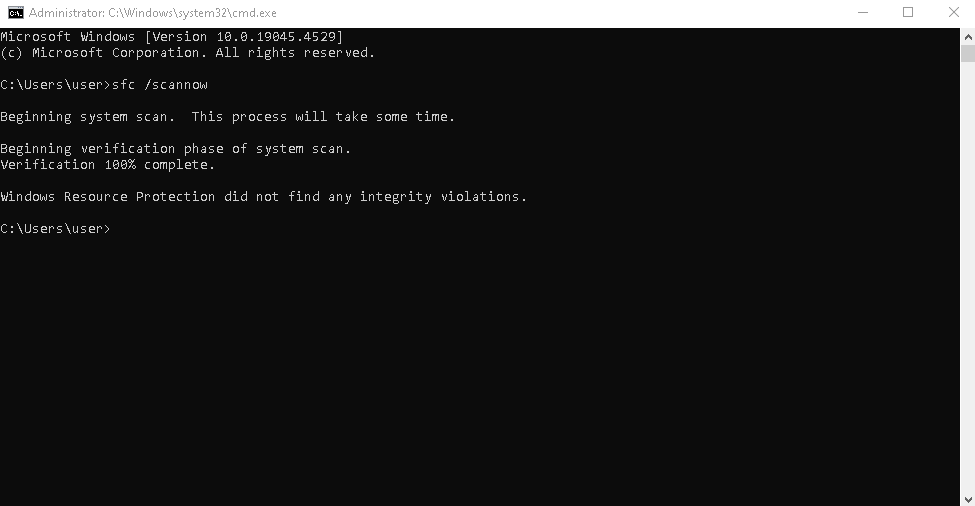
-
After that finishes, run DISM:
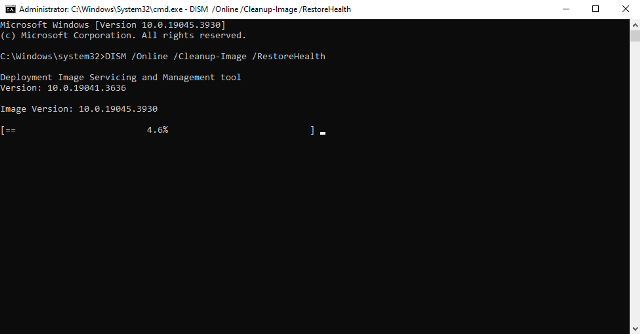
These tools will repair damaged components in the system cache.
2.Clear Windows Cache Manually
Since the Cache Manager handles cached data, clearing problematic cache files can fix the BSOD.
Clear Windows Store Cache
Open Run (Win + R), type:
Press Enter.
Clear Temporary Cache Files
Go to:
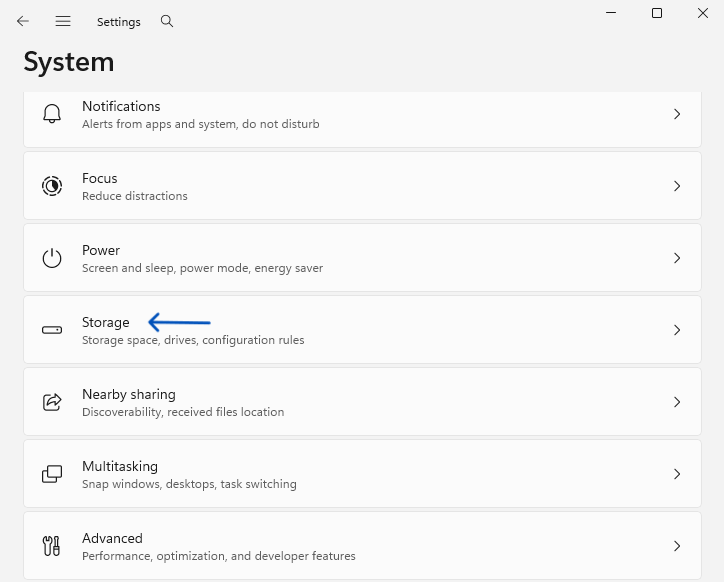
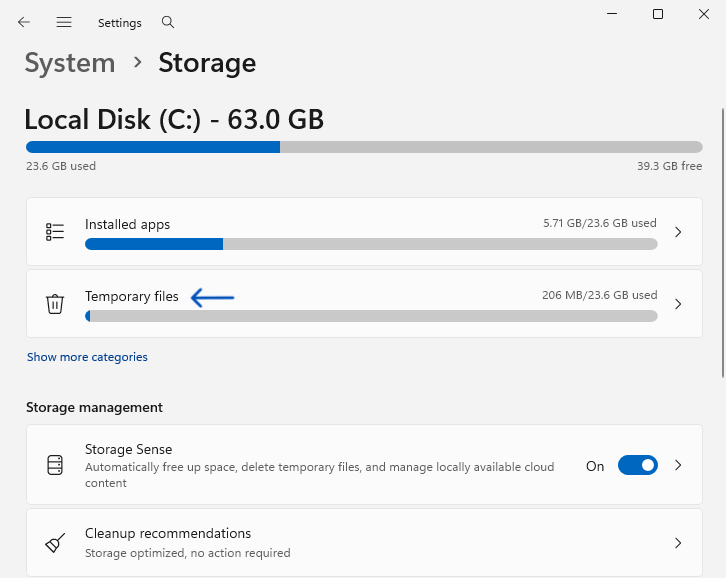

Delete temp files, Delivery Optimization files, and Windows cache.
3.Check Your Disk for Errors
Disk problems can corrupt the cache manager.
-
Open Command Prompt (Admin).
-
Run:
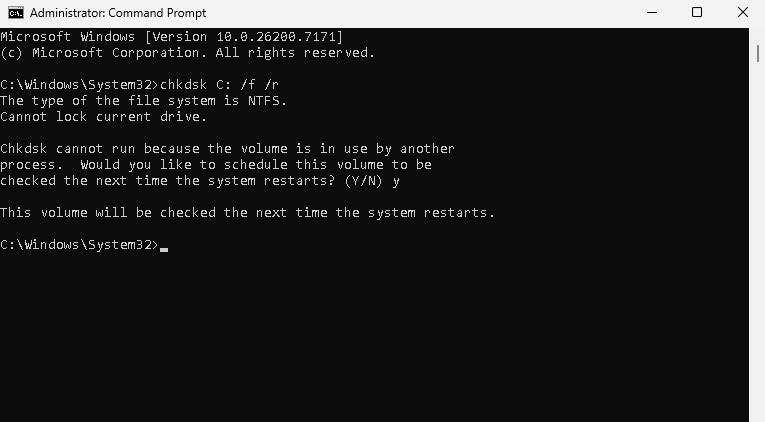
-
Press Y to schedule the scan.
-
Restart your PC.
If your SSD/HDD is failing, this scan will show warnings — in that case, backup your data immediately.
4. Update All Drivers (Especially Storage and GPU)
Outdated drivers can cause kernel and caching errors.
To update drivers:
-
Press Win + X → Device Manager
-
Update:
-
IDE ATA/ATAPI controllers
-
Storage controllers
-
Display adapters
-
Network adapters
-
Better option:
Download the latest drivers from official websites (Intel, AMD, NVIDIA, Samsung, Western Digital, etc.).
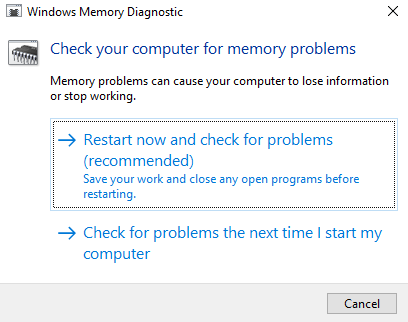
5.Test RAM With Windows Memory Diagnostic
Faulty or unstable RAM may corrupt cached data, causing a Cache Manager BSOD.
-
Press Win + R, type:
mdsched.exe
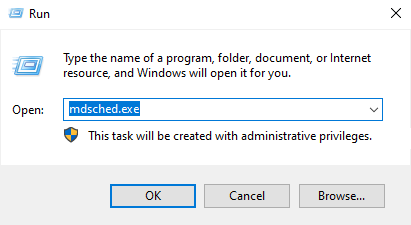
-
Choose Restart and check for problems.
-
Wait for the scan to finish.
If RAM errors appear, try:
-
Removing and reinserting modules
-
Testing one module at a time
-
Replacing the faulty RAM
6.Scan for Malware
Some malware modifies system memory and cache structures.
Run a full scan with:
-
Windows Defender
-
Malwarebytes
-
ESET Online Scanner
Remove any detected threats, then reboot.
7.Uninstall Recent Updates
If the BSOD started appearing after a Windows update:
Go to Settings → Windows Update → Update history
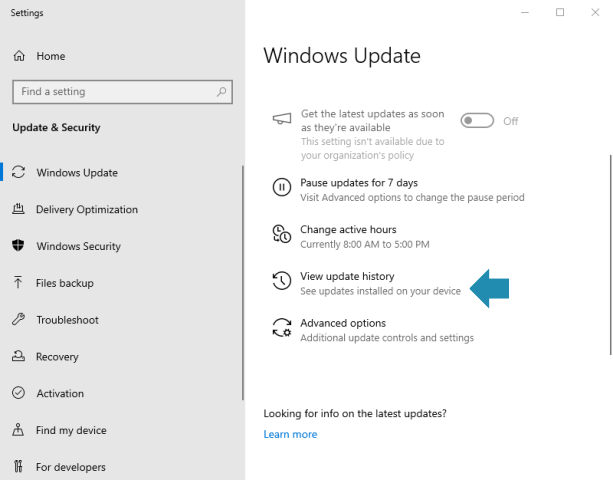
Select Uninstall updates
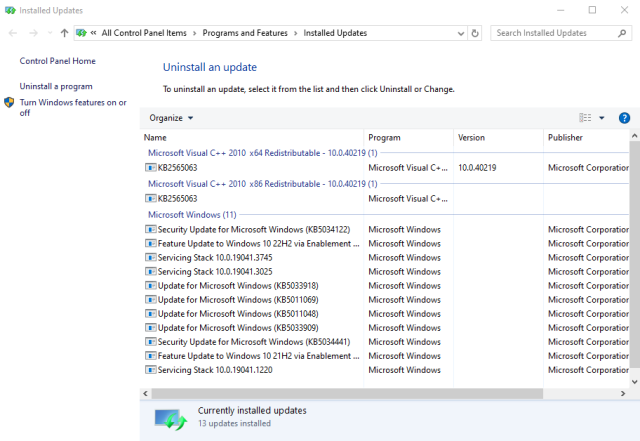
Remove the most recent update
Microsoft sometimes pushes updates that break caching or storage operations.
8.Perform System Restore
If nothing works, roll back your system:
-
Press Win + R, type
rstrui -
Choose a restore point before the BSOD appeared
-
Restart your PC
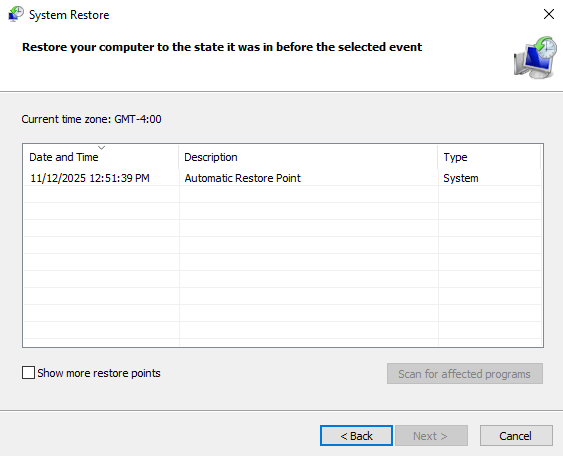
System Restore does not delete personal files — only system changes.
How to Prevent Cache Manager BSOD in the Future
To keep your PC stable:
-
Keep drivers updated
-
Avoid abrupt shutdowns
-
Do not interrupt Windows updates
-
Run occasional SFC and DISM scans
-
Use high-quality SSD/HDD
-
Keep your system free from malware
Regular maintenance prevents 90% of cache-related BSODs.
Final Thoughts
The Cache Manager BSOD can appear for different reasons, but it’s usually caused by corrupt system cache, bad drivers, or memory errors. The solutions above — especially updating drivers, clearing cache, and running SFC/DISM — fix the issue in most cases.
If the BSOD continues even after following the full guide, the problem may be hardware-related: SSD, RAM, or motherboard issues.
Explore other helpful tools in our Windows utilities section.