
Why Some Users Prefer to Disable Windows 11 Updates
While keeping your system updated is essential for security and stability, there are valid cases where delaying or blocking updates makes sense—like avoiding incompatible updates, managing limited bandwidth, or maintaining a stable setup in production environments. Below are safe and efficient ways to temporarily or permanently disable updates in Windows 11.
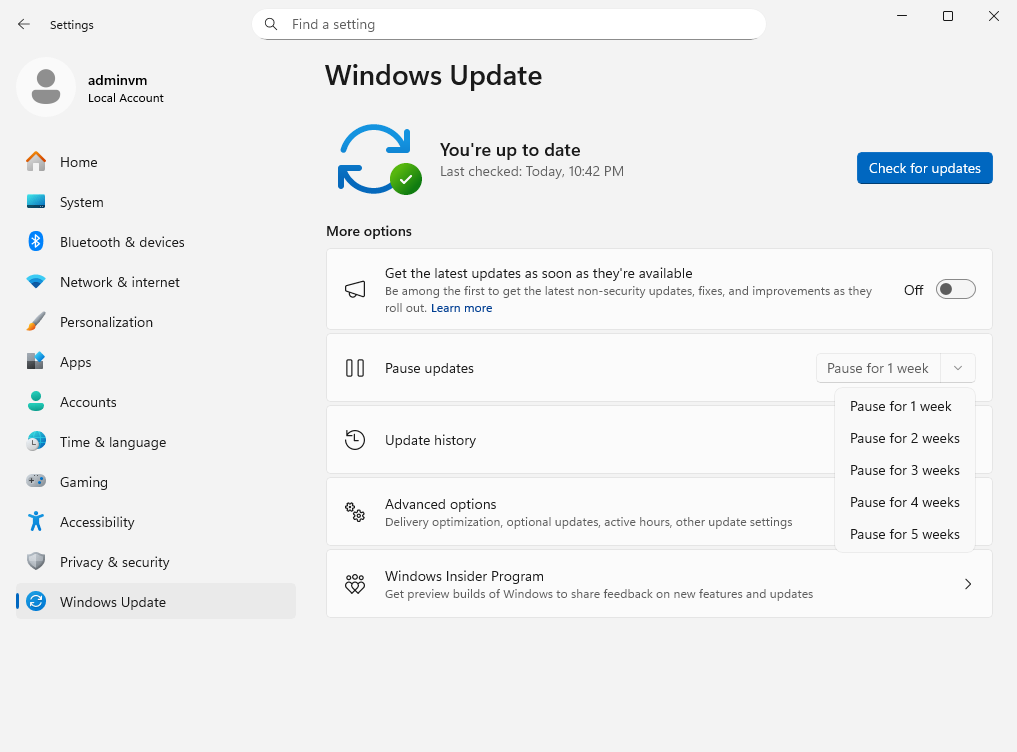
1. Pause Updates via Settings (Up to 5 Weeks)
-
Open Settings → Windows Update.
-
Under Pause updates, select your pause period (up to 5 weeks).
-
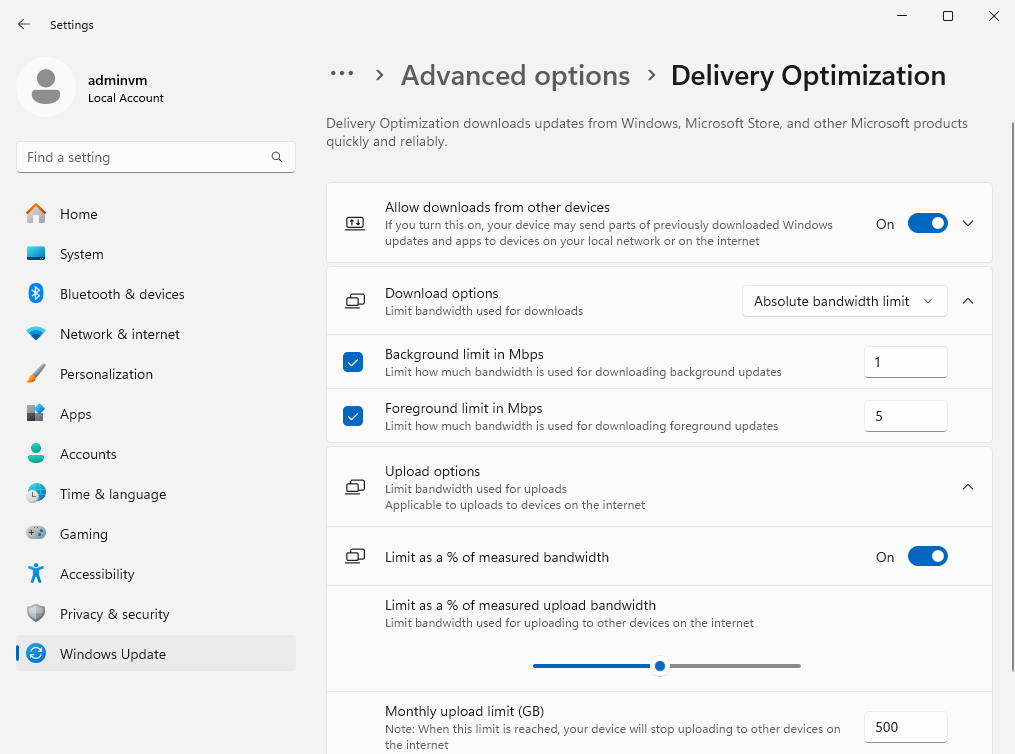
Optionally, head to Advanced options and disable update downloads on metered connections.
-
Bonus: Configure your Wi-Fi or Ethernet connection as “Metered” under Network & Internet.
2. Block Updates via Group Policy (Pro/Enterprise Editions)
-
Press Win + R, type
gpedit.mscand hit Enter. -
Go to:
Computer Configuration → Administrative Templates → Windows Components → Windows Update → Manage end user experience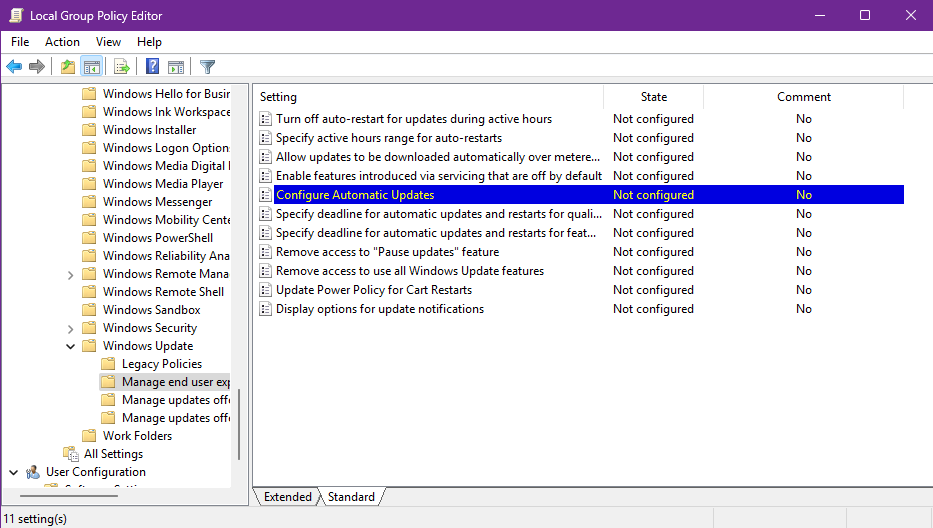
-
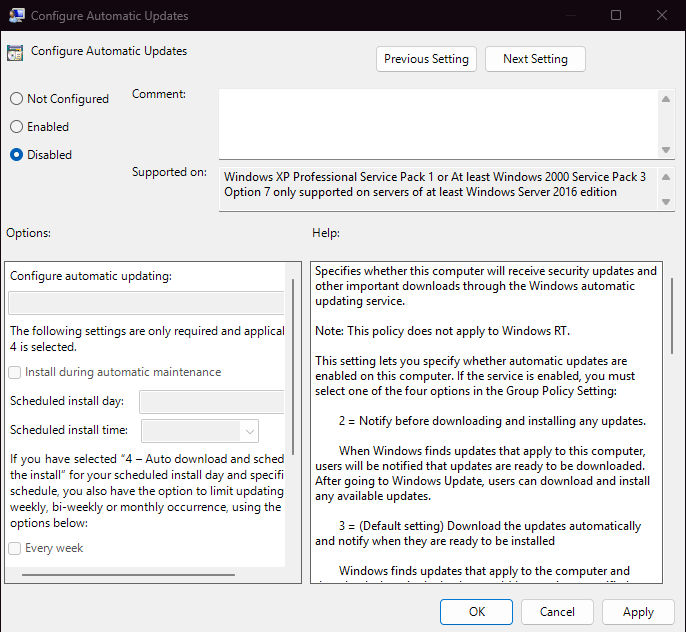
Open Configure Automatic Updates, set to Disabled, and apply.
3. Registry Method (Works on Home Edition Too)
-
Press Win + R, type
regedit, press Enter. -
Navigate to:
HKEY_LOCAL_MACHINE\SOFTWARE\Policies\Microsoft\Windows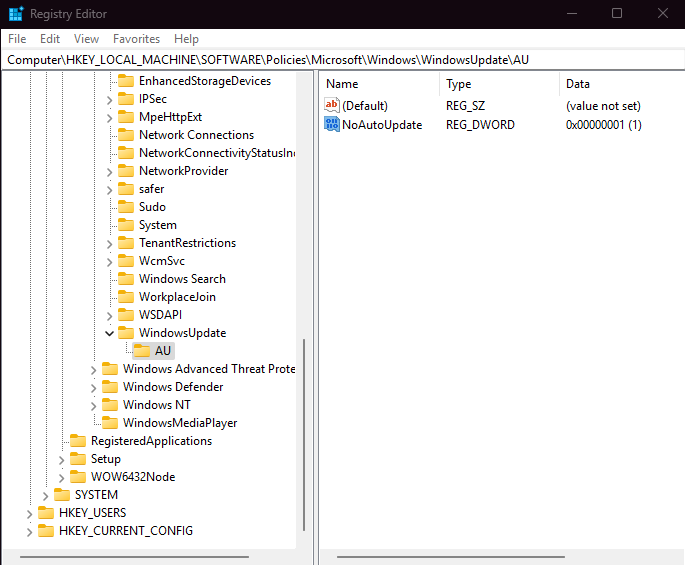
-
Create a new key:
WindowsUpdate, then child keyAU. -
In
AU, create a DWORD (32-bit) namedNoAutoUpdateand set its value to1.
4. Disable Windows Update Service Temporarily
- Run services.msc.
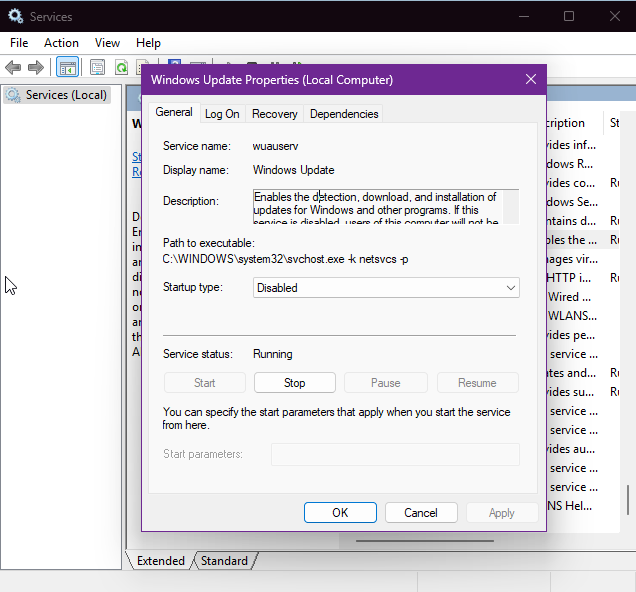
-
Locate Windows Update, Stop (service) it, and set Startup type → Disabled.
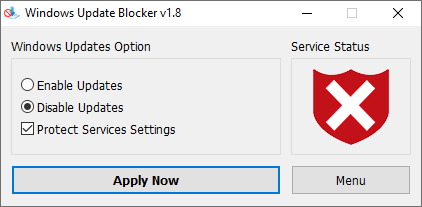
5. Use Third-Party Tools to Simplify Blocking
Windows Update Blocker — lightweight, blocks updates with one click. Download the program from the developer’s website and run it.
Select the “Disable updates” option and apply the settings.

Click to Disable Updates
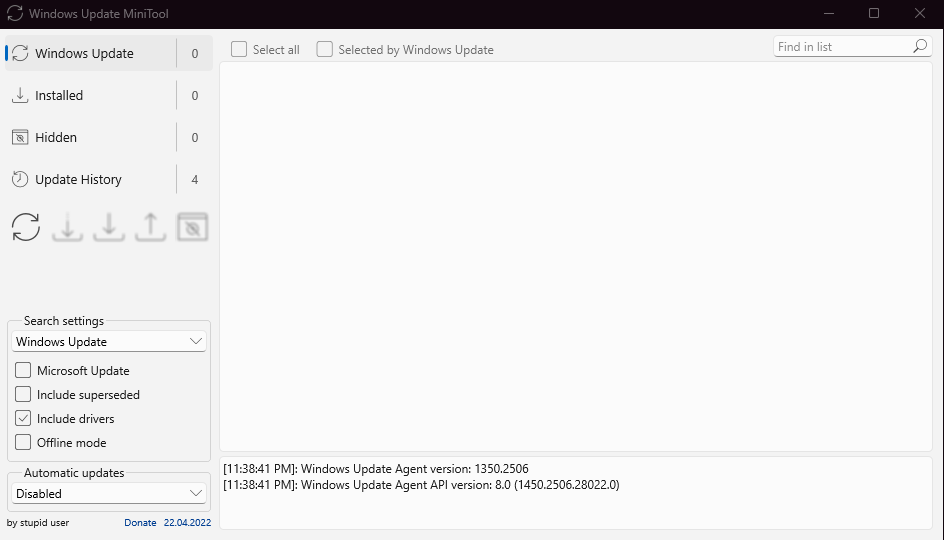
Windows Update MiniTool — manage Windows 11 updates manually with a GUI. You can download the program from the website.
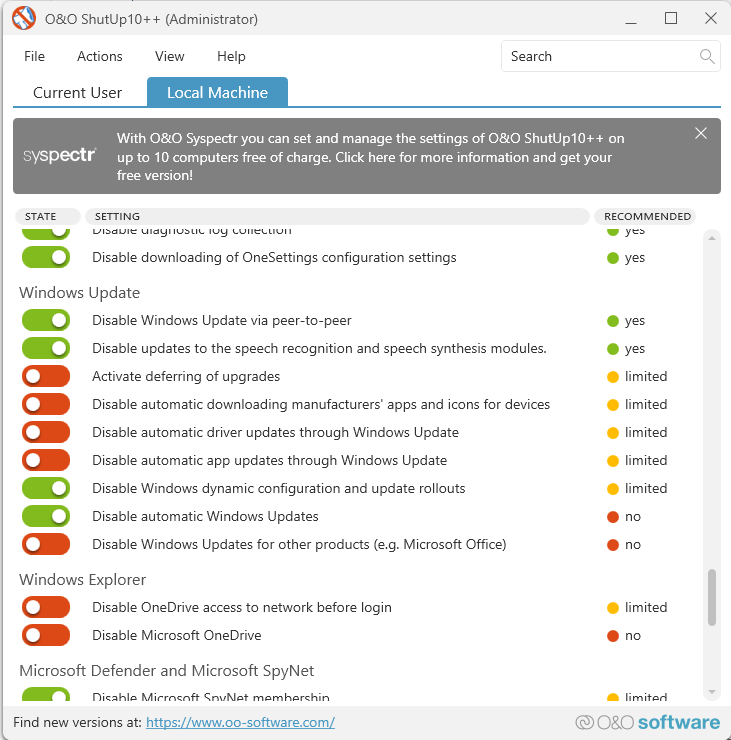
O&O ShutUp10++ — fine-grained control over Windows 11 update settings.
You can download the program from the official website.
After launching, open the “Local Computer” tab and enable the “Disable automatic system update (Windows-Update)” option.
Explore other helpful tools in our Windows utilities section.